Manage characteristics, specifications, and documents
Note
The way you create, edit, add, or delete a characteristic, specification, or document in the Specification Management Library is identical for all the library tabs associated with the Products and Equipment tabs (Characteristics, Specifications, and Documents).
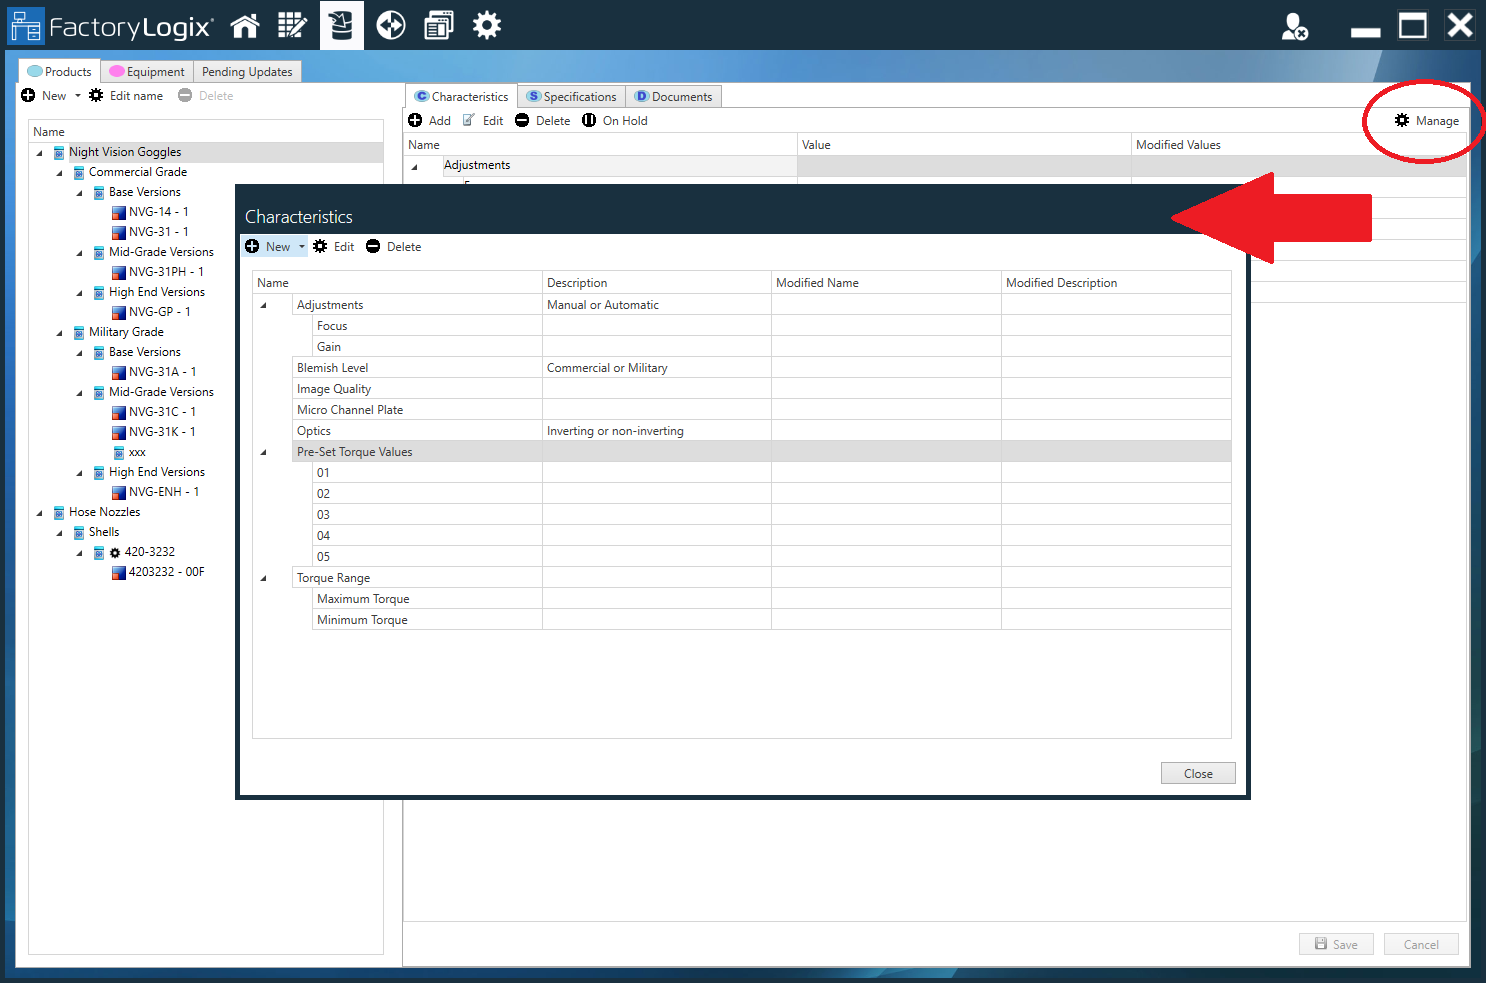
The Manage![]() button in the upper-right corner of the Specification Management Library window allows you to create, edit, or delete a characteristic, specification, or document on the Characteristics, Specifications, or Documents tabs. In the following illustration, the Characteristics tab is selected for the Products tab; in this instance, selecting the Manage
button in the upper-right corner of the Specification Management Library window allows you to create, edit, or delete a characteristic, specification, or document on the Characteristics, Specifications, or Documents tabs. In the following illustration, the Characteristics tab is selected for the Products tab; in this instance, selecting the Manage![]() button opens the Characteristics dialog for products.
button opens the Characteristics dialog for products.
Manage characteristics, specifications, and documents
On the left side of the Specification Management Library window, select the Products or Equipment tab.
On the right side of the window, select the Characteristics, Specifications, or Documents tab.
Select the Manage
 button (the gear) in the upper-right corner of the window.
 Select the New button to create a new item.
Enter a name for the item in the Add new name dialog, then select OK.
Enter the desired values for the item, then select Save.
(Optional) Use the Edit
 button to modify a selected (existing) item or use the Delete
  button to remove a selected item from the library.
Note
When you add a document on the Documents tab, a View button is available that allows you to preview the content of the document, as shown in the following illustration.
Select the Close button to return to the library window.
Apply a characteristic, specification, or document to the tree
After you create a new characteristic, specification, or document, you select the node on the tree where you want to use the item, then make your selections on the right side of the window. The characteristic, specification, or document you select will be used for the selected itema and its associated child items in the tree until you change it.
To add an item to the library tree, select the node on the tree where you want to apply and begin using an item in the hierarchy.
On the right side of the window, select the Add
 button.
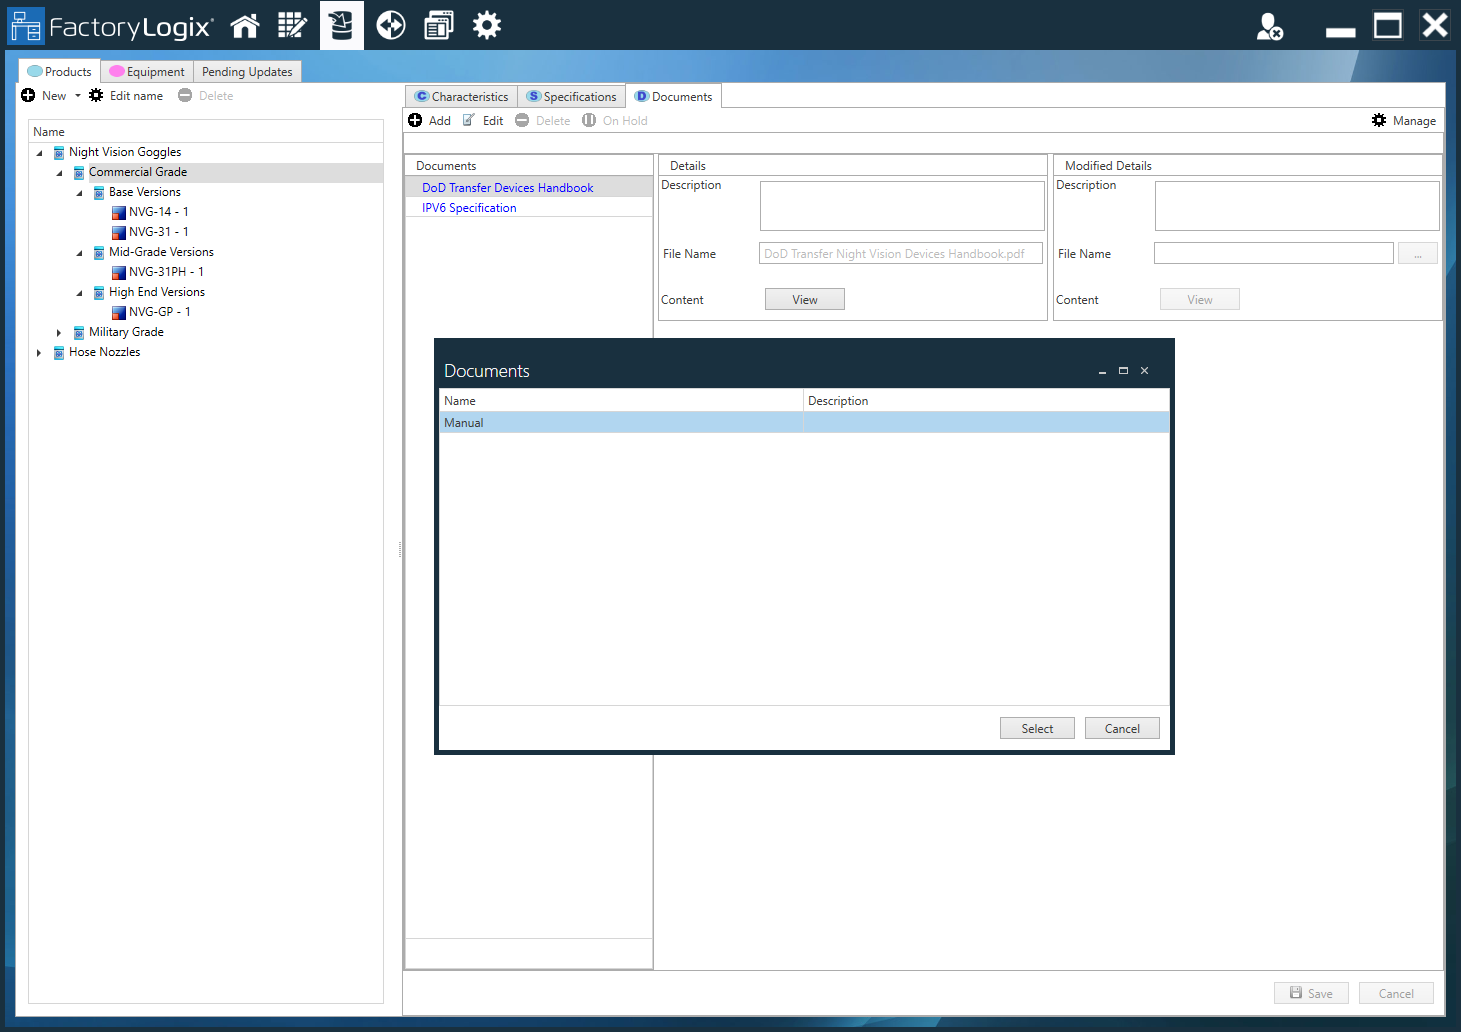
Select the item you want to add/apply to the selected node on the tree, then select the Select button.
Note
The item you selected will be used for all subsequent nodes on the tree until you remove or change it.
After you add an item to the tree, you can use the Edit or Delete buttons to modify or remove the item.
Note
If you remove a characteristic, specification, or document from the tree, you can only do so by selecting the first node of the tree where the item was introduced (the text will be Black). Items in Blue text indicate that the item is inherited from a higher node of the tree.
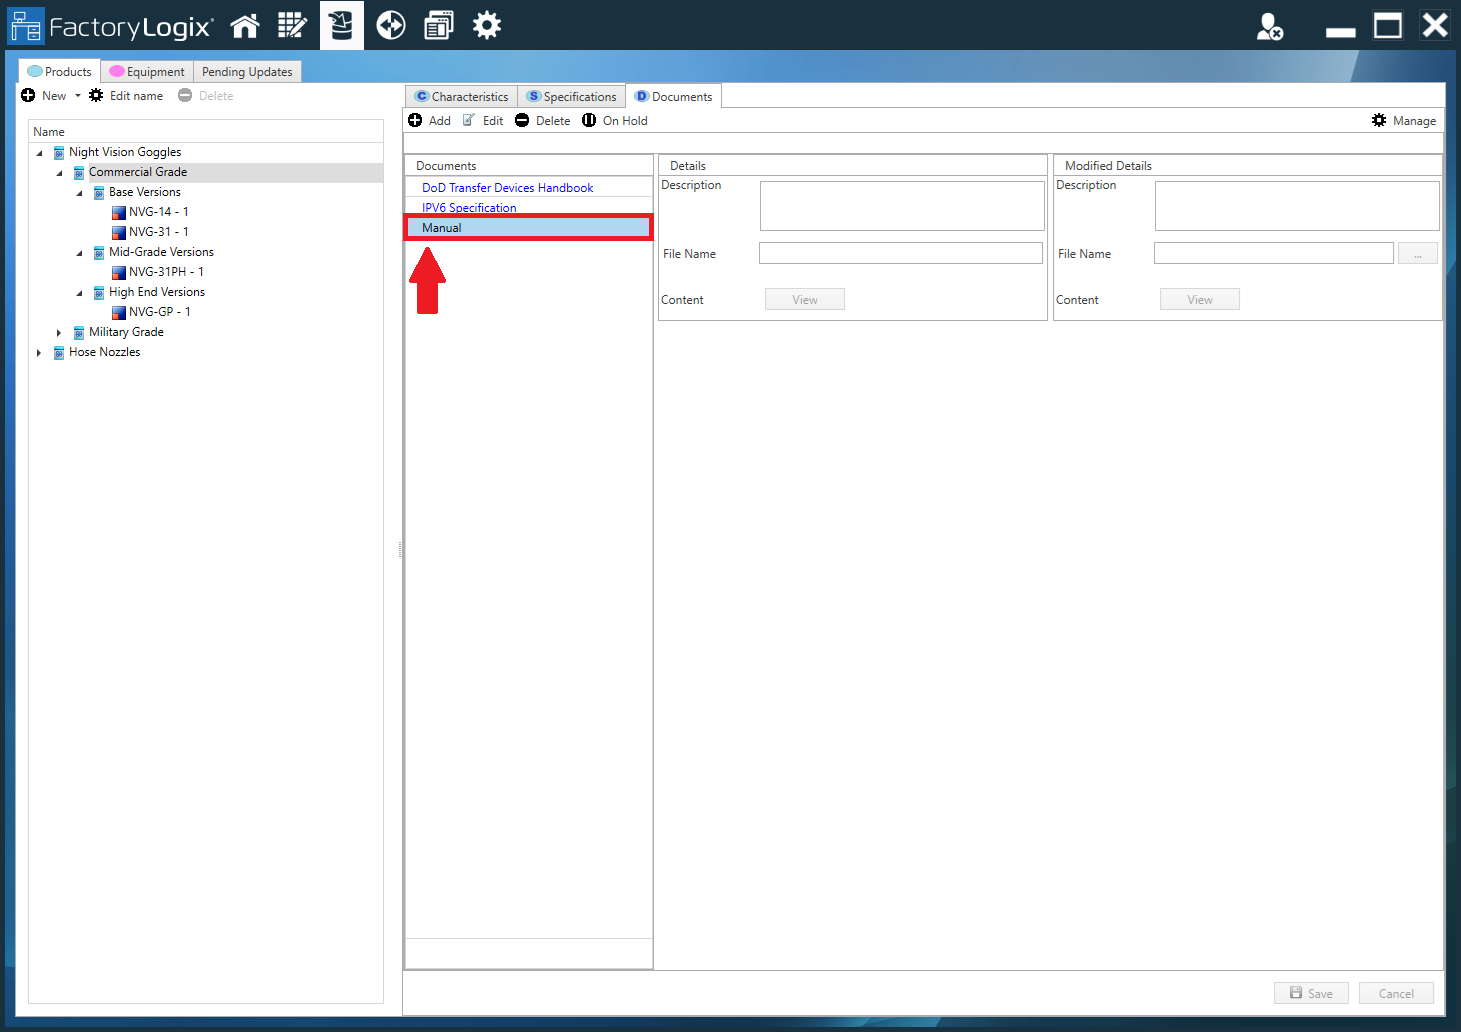
Example
In the following example:
The Document named Manual was added to the Commercial Grade node of the tree.
The two items shown in Blue were added to the top node of the tree (Night Vision Goggles) and apply to every node of the tree under Commerical Grade.