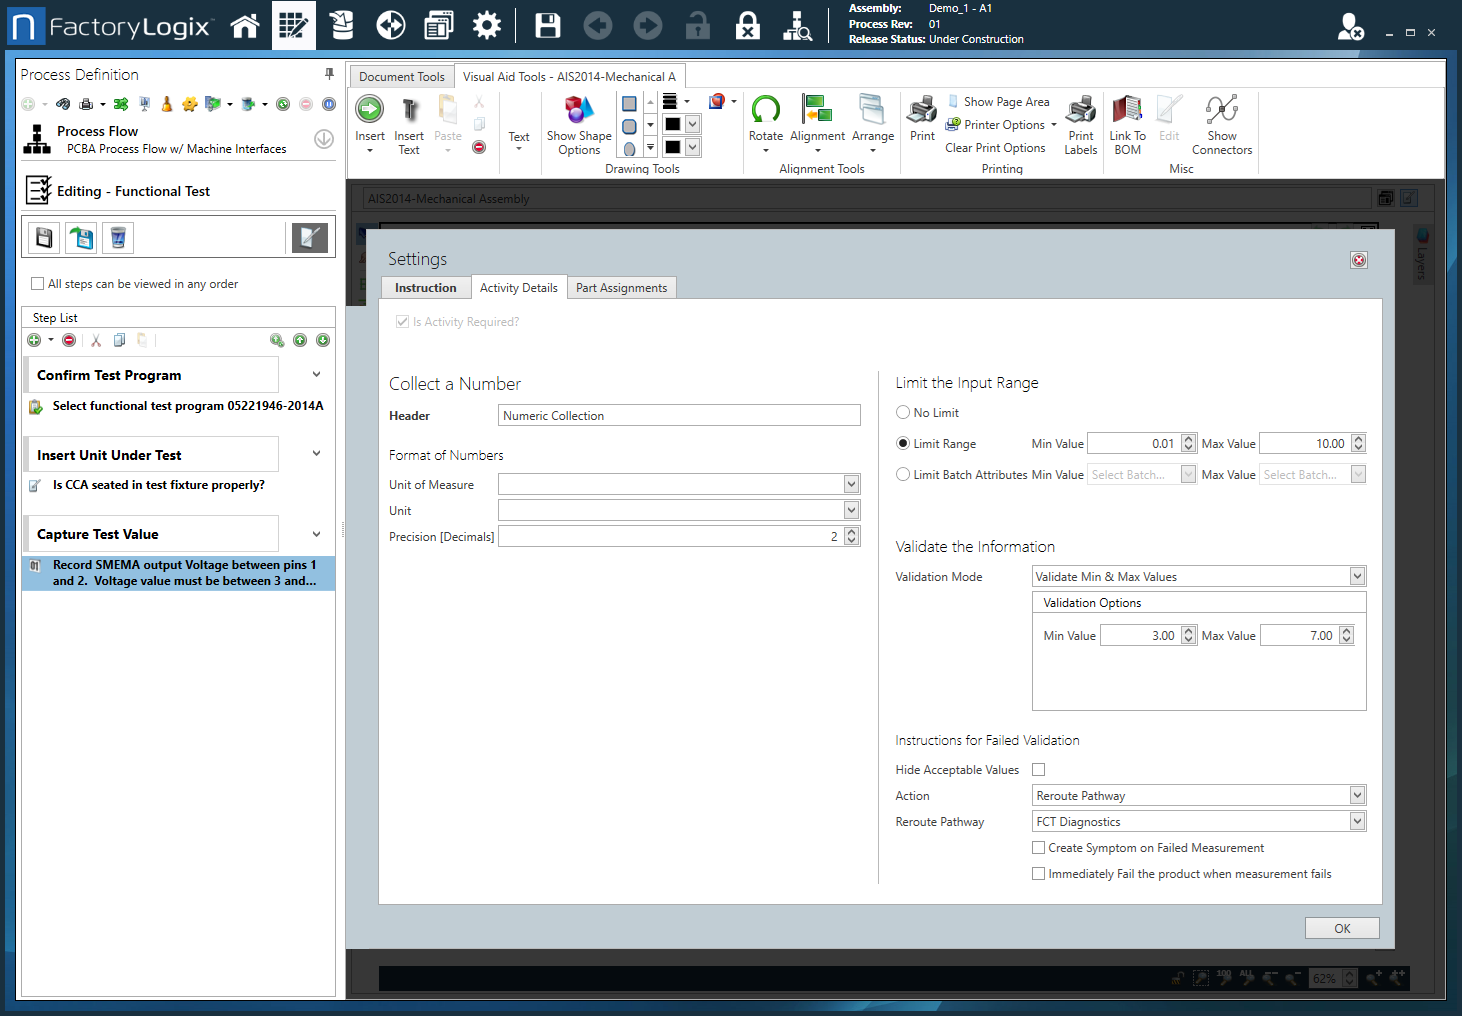
Collect a Number activity
Introduction
The Collect a Number activity is used with the Activity gadget to prompt assemblers to enter a numeric value in production.
The numeric value entered in production can be validated to ensure that it falls within certain parameters. If the value entered doesn't meet the criteria, the input value can be rejected or even force the assembly into a reroute. Process engineers can also limit the input range (that is, only a specific range of numbers can be entered in the Collect a Number activity in FactoryLogix Operations).
Settings dialog - Instruction tab
Option | Description |
|---|---|
Text entry area | Use the text entry area to enter instructional text for the activity (the work instructions operators will see and use in production). Tip Hover over any of the toolbar buttons on the Formatting tab to see a description and a keyboard shortcut (if one exists). 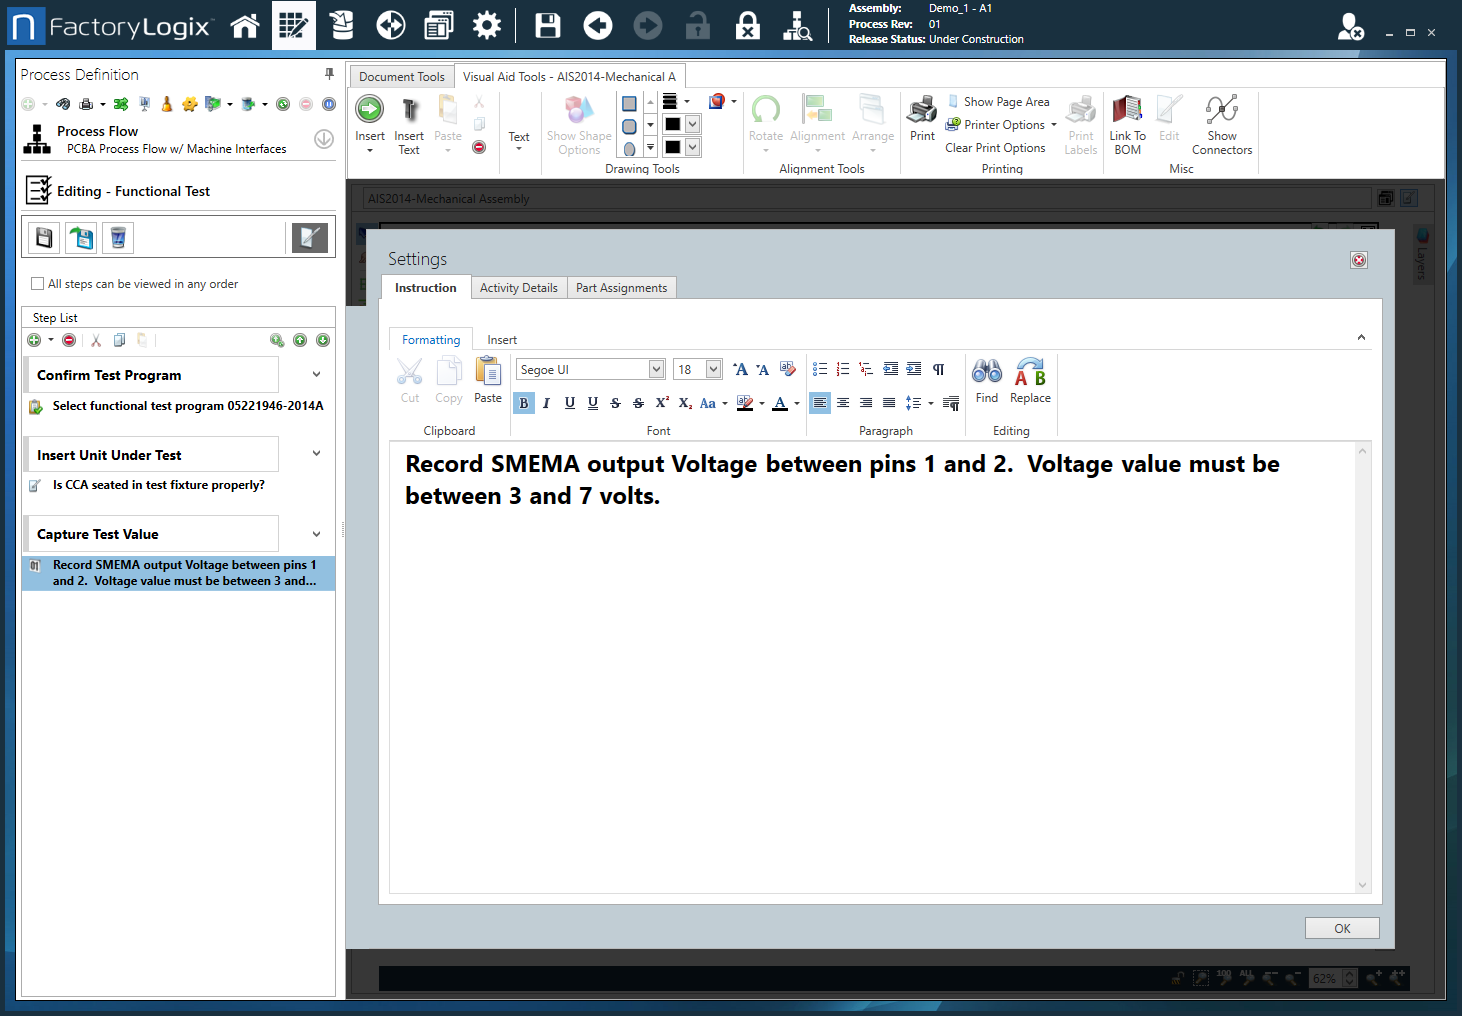 |
Formatting tab toolbar | The Formatting tab toolbar allows you to change text characteristics such as font, font size, style, alignment, color, and so on. These tools are similar to those found in popular word processing programs such as Microsoft Word. 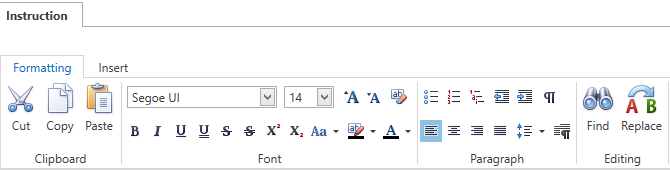 |
Insert tab toolbar | The Insert tab toolbar allows you to insert Smart Text tags, global text, measurements, tables, pictures, and hyperlinks for the activity. 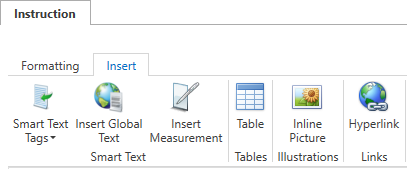
Note For more information about global text, see Add items to a template. For details about using Smart Text tags, see Use Smart Text tags in an Active Work Instruction. |
Settings dialog - Activity Details tab
Option | Description |
|---|---|
Collect a Number |
Note When you change the Unit of Measure, the Limit Range and Precision of the value to be collected is adjusted accordingly (that is, without losing precision).
Note Information for the batch attributes limits you specify is also displayed in FactoryLogics Analytics in the DataMiner Quality and Test category (Test and Measurement data source). See Specify control limits for collected measurements for more information about batch attribute limits.
|
Settings dialog - Option Codes tab
Configuration Options |
Note Option codes are only used with configurable (CTO) assemblies. 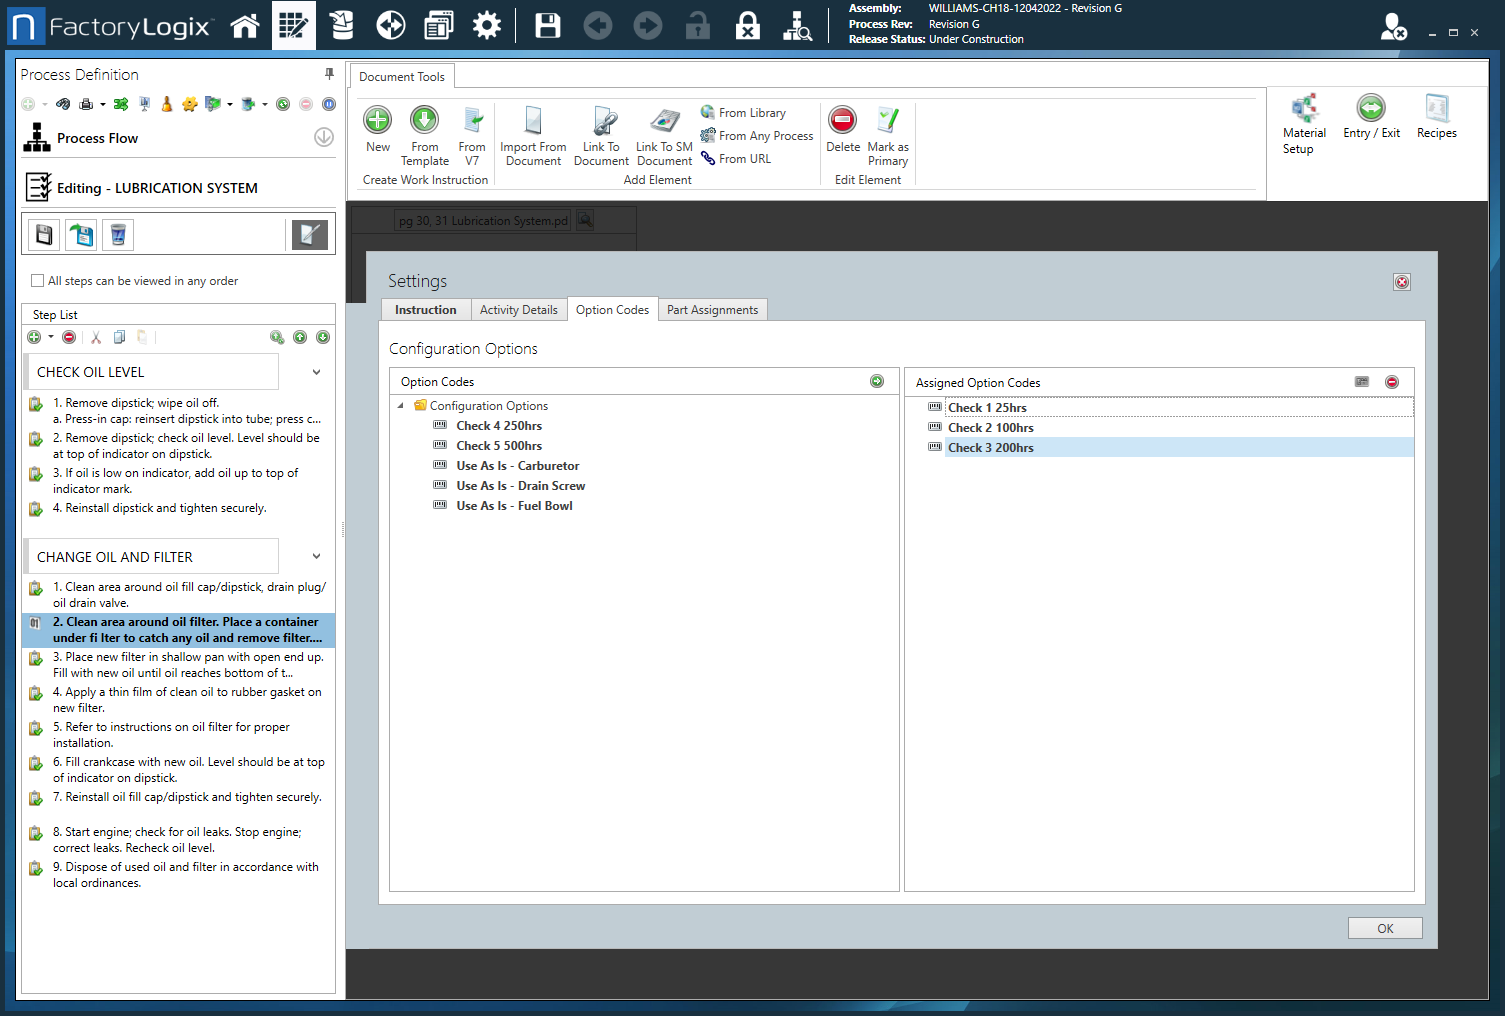 Option Codes - Displays a list of available option codes.
Note For details about option codes, see Option codes for configurable assemblies. |
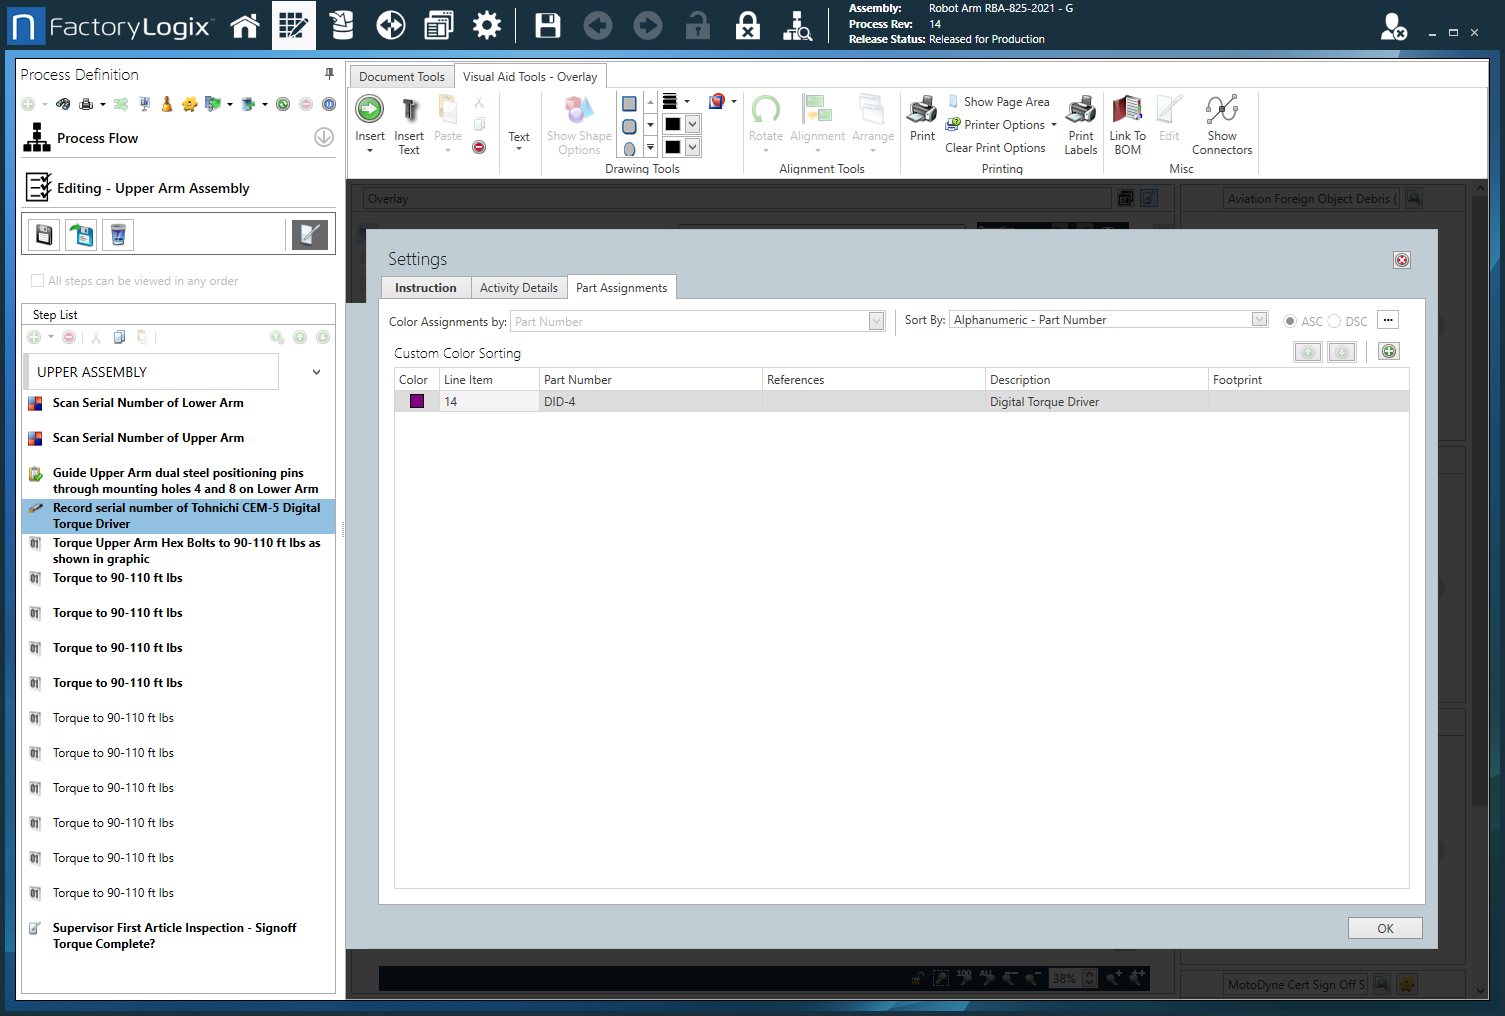
Settings dialog - Part Assignments tab
Option | Description |
|---|---|
Custom Color Sorting | The Part Assignments tab allows you to specify custom color coding/sorting for parts. Color Assignments by - Specifies how you want parts to be sorted for color coding:
Sort - Specifies the sorting order for the color-coded parts listed for each activity:
|