
Print Label activity
Print labels automatically
The Print Label activity in the Process Definition window includes a Label Printing Mode selection to allow you to set up to print labels automatically whenever a barcode is started.
In FactoryLogix Office, open a process definition and add a Print Label activity to the desired step in the process.
Double-click the Print Label activity, then select the Activity Details tab.
Use the Select Label template drop-down to select a label template for this activity.
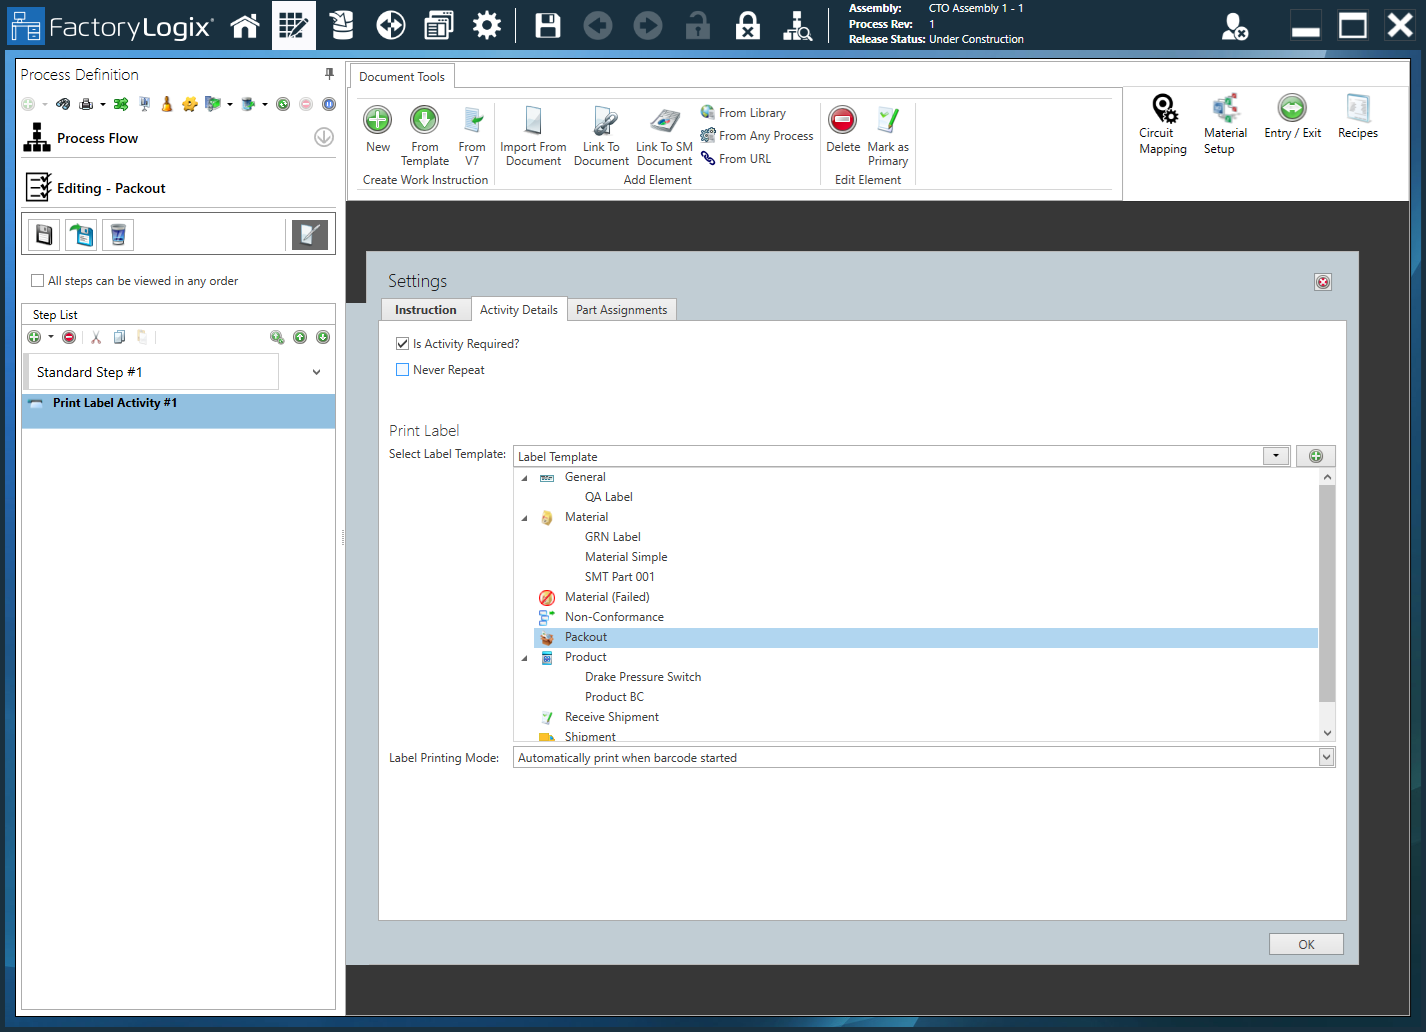
Select Automatically print when barcode started from the Label Printing Mode drop-down.
Now each time a barcode is started, a label will print automatically.
Settings dialog - Instruction tab
Option | Description |
|---|---|
Text entry area | Use the text entry area to enter instructional text for the activity (the work instructions operators will see and use in FactoryLogix Operations).
Tip Hover over any of the toolbar buttons on the Formatting tab to see a description and a keyboard shortcut (if one exists).
 |
Formatting tab toolbar | The Formatting tab toolbar allows you to change text characteristics such as font, font size, style, alignment, color, and so on. These tools are similar to those found in popular word processing programs such as Microsoft Word. 
|
Insert tab toolbar | The Insert tab toolbar allows you to insert Smart Text tags, global text, measurements, tables, pictures, and hyperlinks for the activity. 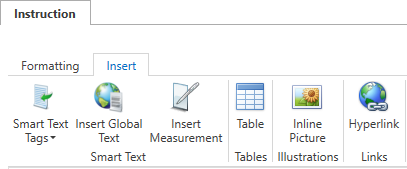
Note For more information about global text, see Add items to a template. For details about using Smart Text tags, see Use Smart Text tags in an Active Work Instruction. |
Settings dialog - Activity Details tab
Option | Description |
|---|---|
Is Activity Required? | Use this check box to specify whether the activity is required in order to complete a WIP transaction for the associated step. |
Never Repeat | Prevents any activity from being executed more than once for any serialized unit being built in FactoryLogix Operations. When Never Repeat (for a serialized unit) is selected, once the activity is marked as Completed, the shop floor operator cannot clear the Activity Completed check box in FactoryLogix Operations. Note Never Repeat applies to serialized tracked work executed within a receiving process but doesn’t impact any non-serialized work in a production or receiving process. |
Print Label | Select Label Template - Use the drop-down to select an existing printed label template, or select the Add Label Printing Mode - The mode used to print labels in FactoryLogix Operations:
Add 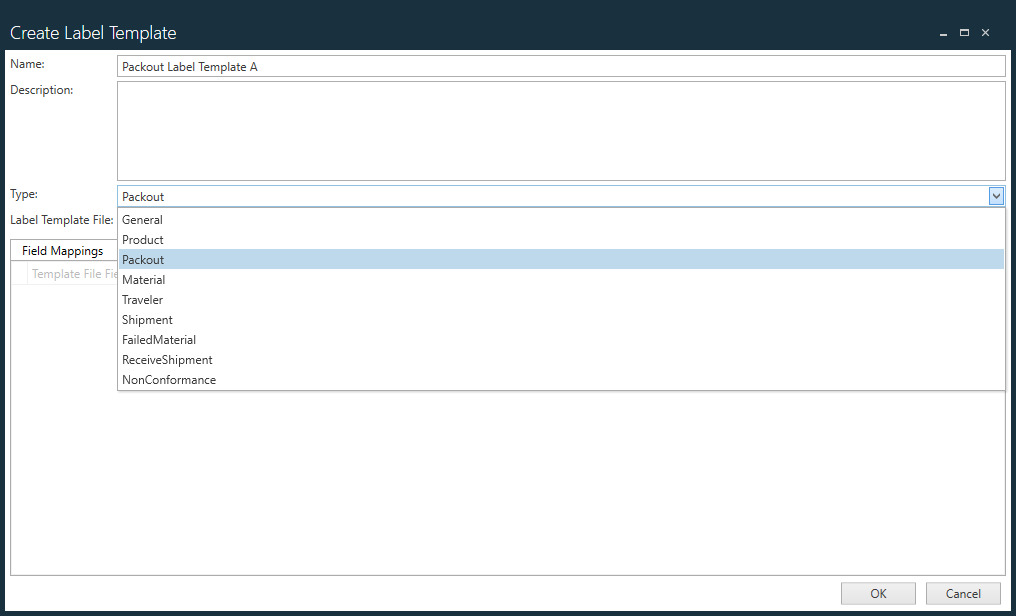
Type - Select the type of label this template will be used to print: General, Product, Packout, Materials, Traveler, Shipment, Failed Material, Receive Shipment, or Non-Conformance. Label Template File - Select the label template file, for example BarTender, NiceLabel, or TekLynx Sentinel), then select Open. Field Mappings - Map the label template file’s fields to the corresponding Aegis/FactoryLogix fields. |
Settings dialog - Part Assignments tab
Option | Description |
|---|---|
Custom Color Sorting | The Part Assignments tab allows you to specify custom color coding/sorting for parts. Color Assignments by - Specifies how you want parts to be sorted for color coding:
Sort - Specifies the sorting order for the color-coded parts listed for each activity:
When you insert a BOM block on the Visual Aid Tools tab, the color coding you selected is used to display the part numbers.
|